Quickstart
A GCB block is just typed fields plus some markup. This guide gets one on the page. The fields are identical however you decide to render, the only choice is where the HTML comes from.
You'll need WordPress 6.5+ with the block editor and a theme you can edit.
1. Install the plugin
Download the latest release and install it.
- Grab the latest
gcb-lite.zipfrom the Releases page. - In wp-admin, go to Plugins → Add New → Upload Plugin, choose the zip, and click Install Now.
- Click Activate.
That's it, the release zip is already built, so there's nothing to compile.
2. Create the block
A block is a folder in your theme with two files, block.json (WP's standard metadata) and block.fields.json (your Inspector controls). You don't write them by hand, you scaffold them, and you can do that from the admin UI, the command line (wp gcblite scaffold), or an AI agent. They all hit the same scaffolder and produce identical files in your active theme (or a location you configure).
Prefer the terminal or an agent? wp gcblite scaffold writes the same files from the command line — see CLI scaffolding — and agents can drive GCB through the WP Abilities API, see AI workflows. This guide uses the admin UI.
Head to GCB Lite → Blocks and click + New, then give your block a name (we'll use "Hello World").
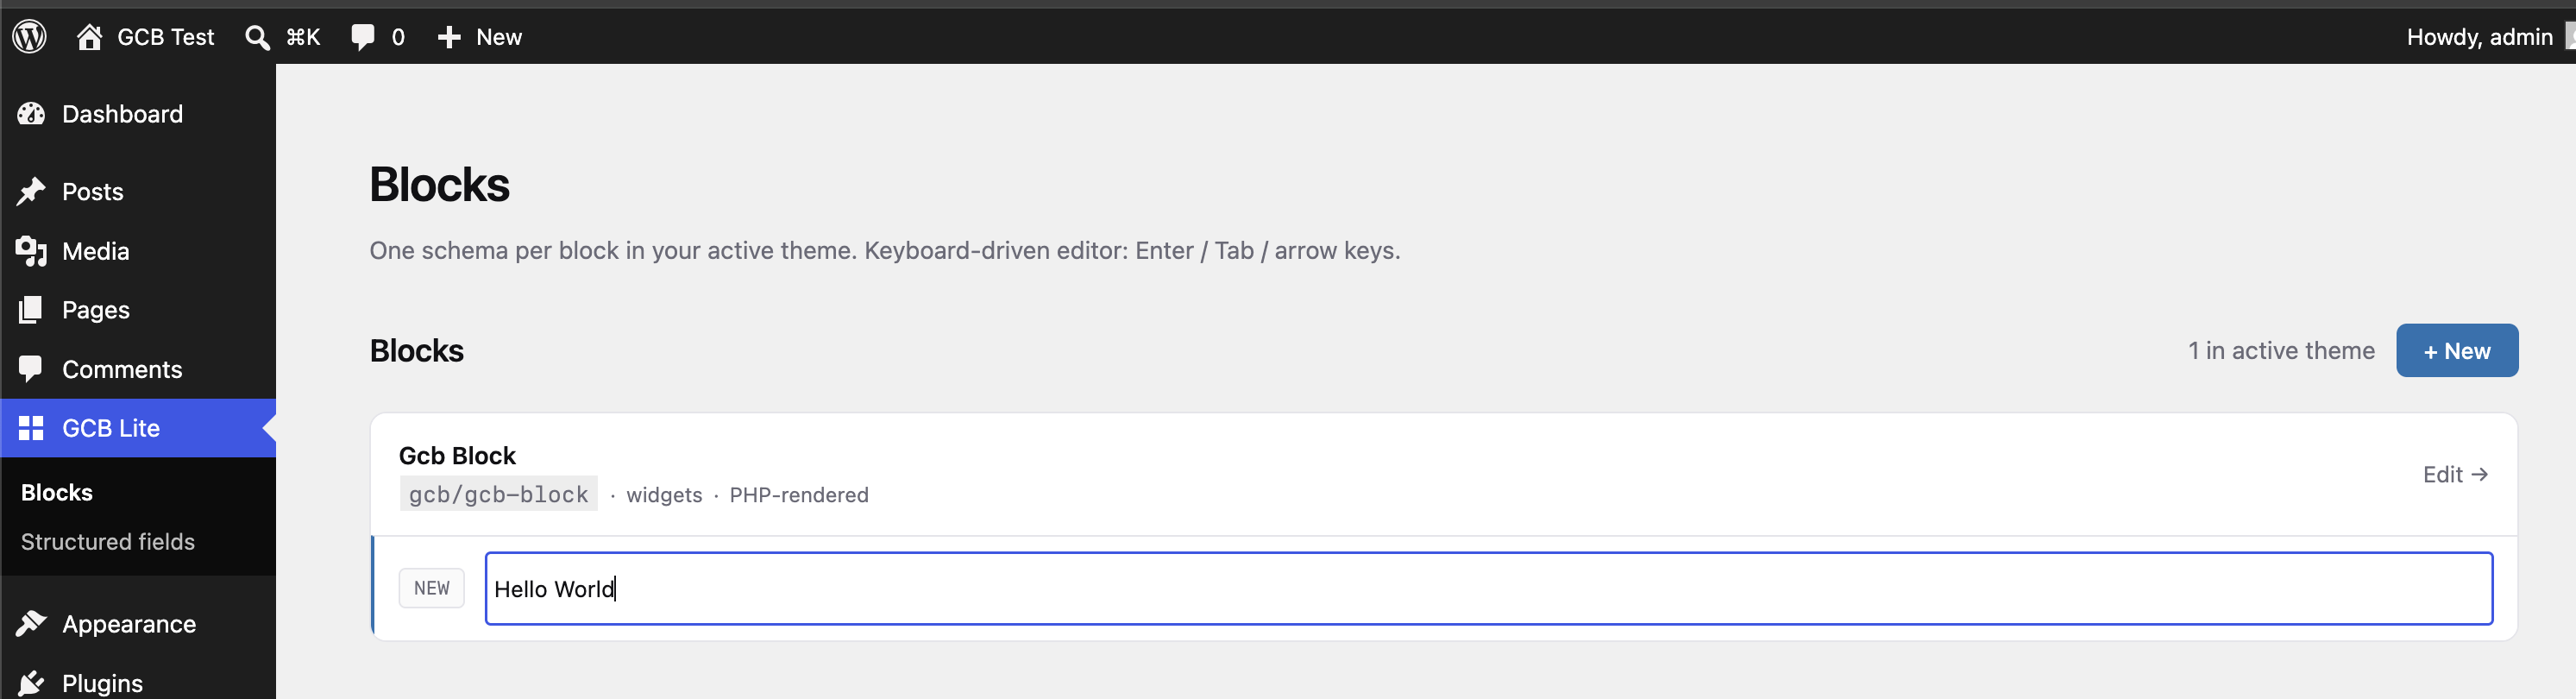
That's it, GCB writes the folder and both files for you. They're plain files, version-controlled and editable by hand if you ever want to, but you rarely need to, the builder fills in block.fields.json as you add fields next.
3. Add your fields
In the builder, pick a control type from the searchable list, then set its properties on the right, label, attributeKey (the name you'll read when rendering), default, validation, and anything else that control supports. Add a Name text field and an Intro textarea.
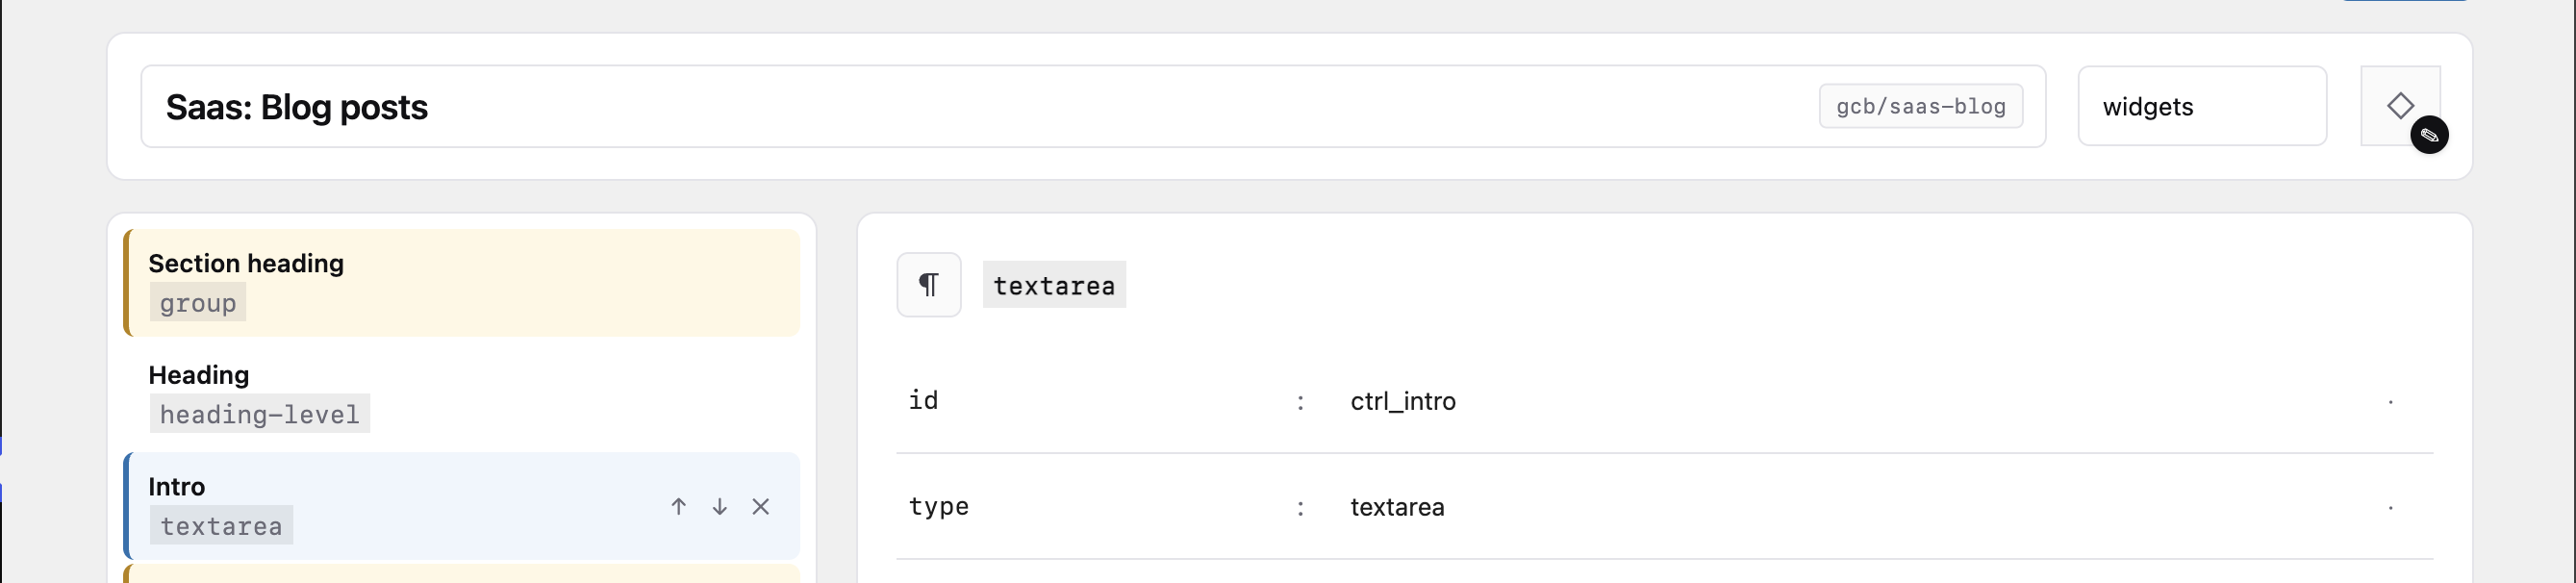
As you build, GCB writes block.fields.json for you. What you just created comes out as:
{
  "controls": [
    { "id": "panel", "type": "group", "label": "Hello settings" },

    { "id": "ctrl_name",
      "type": "text",
      "label": "Name",
      "attributeKey": "name",
      "default": "world",
      "parentPanelId": "panel" },

    { "id": "ctrl_intro",
      "type": "textarea",
      "label": "Intro",
      "attributeKey": "intro",
      "validation": { "maxLength": 200 },
      "parentPanelId": "panel" }
  ]
}
That's the same JSON you'd write by hand, so use the builder, the file, or both, and switch any time. The file is the source of truth either way.
4. Render it
So far everything's been identical for everyone. This is the one fork in the road: where does the block's HTML come from? It'll depend on what language your using - see examples in the tabs for building in PHP or JS.
Same block — pick the stack you build in. Switching tabs stays on this page.
Add a render.php to the block folder and point block.json at it with "render": "file:./render.php". Your HTML reads attributes straight off $attributes, that's the whole job.
<?php
/**
 * $attributes is an associative array of typed values matching the
 * attributeKeys you set in the field builder.
 */
$name  = $attributes['name']  ?? 'world';
$intro = $attributes['intro'] ?? '';
?>
<section class="hello">
  <h2>Hello, <?php echo esc_html($name); ?>.</h2>
  <?php if ($intro): ?>
    <p><?php echo esc_html($intro); ?></p>
  <?php endif; ?>
</section>
Leave block.json without a render line, there's no PHP file. The block's HTML comes from your own frontend (React, Vue, Astro, anything that speaks HTTP). Read the same attributes, return your markup:
// components/Hello.jsx
export default function Hello({ attributes = {} }) {
  const { name = 'world', intro = '' } = attributes;
  return (
    <section className="hello">
      <h2>Hello, {name}.</h2>
      {intro && <p>{intro}</p>}
    </section>
  );
}

// Register in your block registry:
export const WP_BLOCK_REGISTRY = {
  'myplugin/hello-world': Hello,
  // ...
};
5. Use it
Open the block editor for any page. Insert a new block, search for "Hello World". You'll see the rendered output with its default values, and the Inspector sidebar showing the two fields you added.
Edit the fields, the preview updates. Save the page and view it on the public site: same render, same markup. That's the parity.
Next: read the Field reference to see every control type and what shape of value it stores, or Post fields to add typed fields to your CPTs.